
Onto the Back 9. As I mentioned, the back 9 here is the last course that featured the design work of Arnold Palmer. While he did not live to see it completed, it has to hold a special place simply for this fact.
Hole 10 Par 4
350 | 330 | 322 | 297 | 280 yards


The approach into this green is uphill, guarded by a single pot bunker short of the green.
Hole 11 Par 4
464 | 419 | 364 | 329 | 234 yards


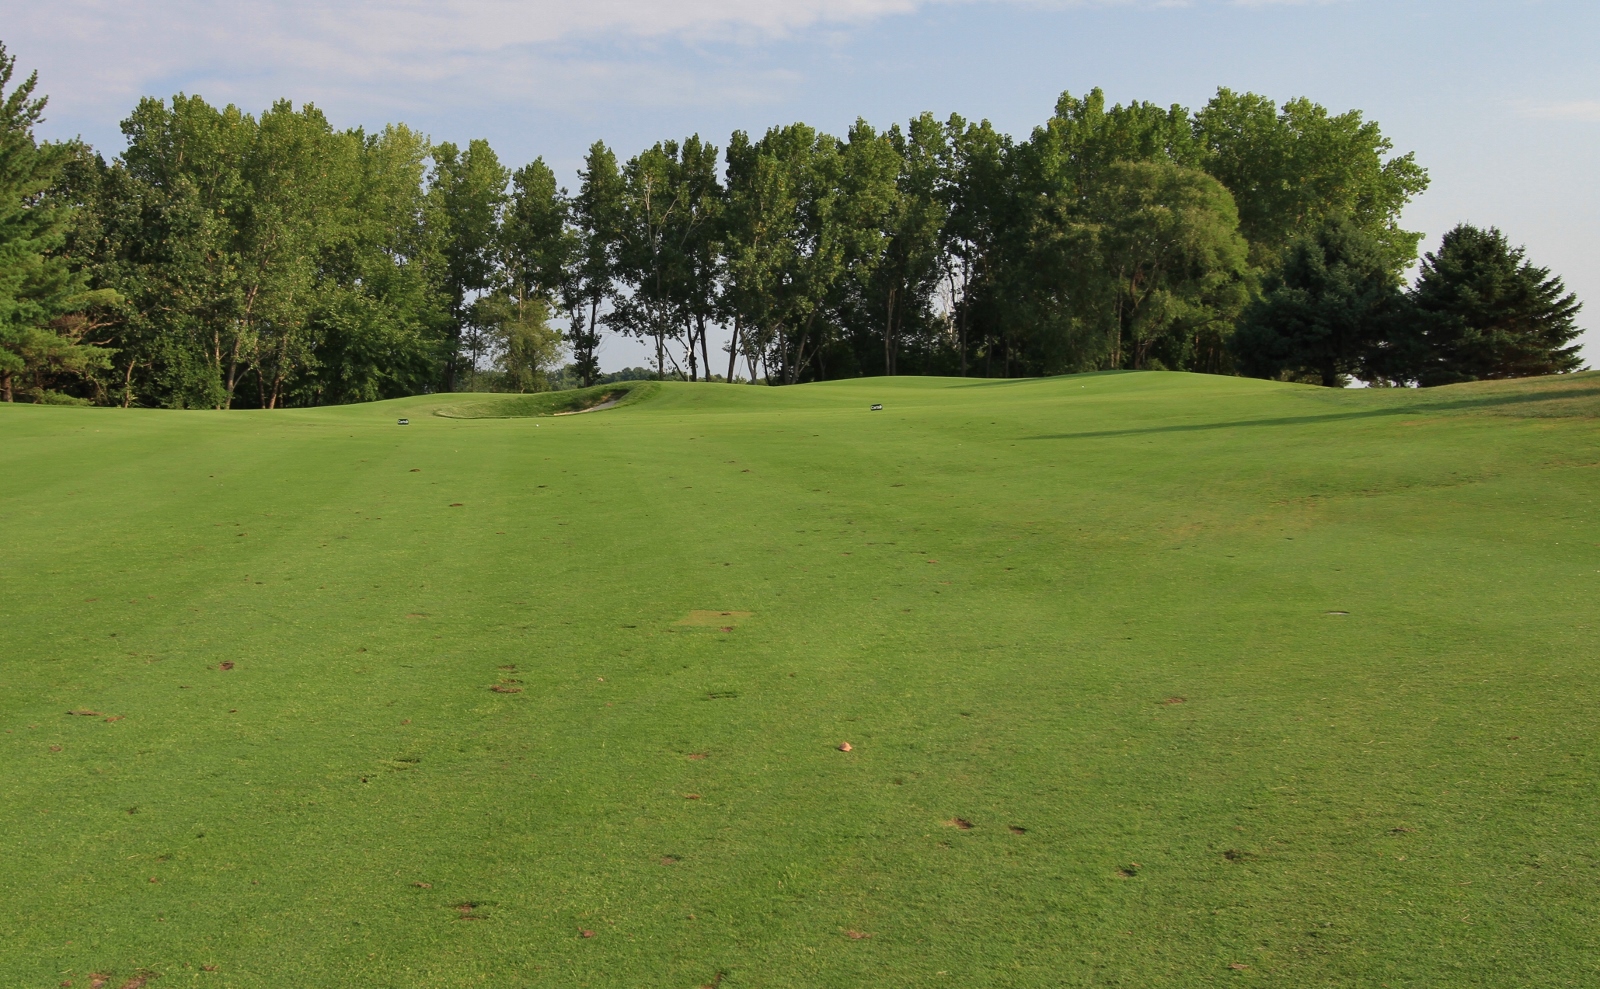
Your second shot on this hole will require avoiding a massive green short and left that is protecting the elevated green. The right side of this green offers a slope that can be used to funnel balls back onto the green.
Given the choice between the enormous green left or missing right, missing right is the play. When we played the area to the right was under repair but normally this offers by far the better miss.

A look back down the hole shows the difficulty off the tee and the elevation up to the green.

Hole 12 Par 3
143 | 122 | 105 | 90 | 80 yards

A shot from the left side of the green showing the slope falling off the green. While this hole is short, it is not easy.

Hole 13 Par 4
466 | 432 | 412 | 396 | 315 yards

Once you come over the rise in the fairway, the hole traveles downhill before rising up to the elevated green. For those you didn’t hit the best drive and want to lay-up, a large bunker sits down the right side of the hole just inside of 100 yards.

The approach here must navigate the bunker framing the right side of the green and a steep uncut slope on the left that the green wraps around. With the green sloping front to back, and multiple levels, a back pin location makes for a challenging putt.

A view of the green complex from the 9th hole, shows the demanding approach required into this long green.

Looking back down the hole from behind the green, you can see some big elevation changes on the green. Hitting to the correct distance into this green is important.

Hole 14 Par 4
425 | 438 | 360 | 318 | 205 yards

On the fairway, the left side, a slope can kick balls back towards the center. Balls hit down this side have a more obstructed view of the green due to this same slope that runs almost to the green.

This green is a demanding target. While no bunkers ring the green, missing on either side will leave a less than favorable pitch. There is a bit more room to miss left, though that leaves you with a chip to a green sloping away.
A miss to the right will find the swale off to that side. A shot from here can be to the green 10 feet above your shot.

Even if you hit the green, a spine that runs down its center makes for one of the trickier putts. The left side of this spin slopes front to back, while the right side of the green is canted opposite, from back to front.

Hole 15 Par 4
309 | 282 | 250 | 188 | 141 yards

A shot played short to the fairway will require carrying some water on the appraoch. The green helps with this though as it slopes from left to right. This means you can play your shots away from the water and have it drift back to the center of the green. There is also a collection area to bail out on short left of the green.

Hole 16 Par 3
190 | 175 | 158 | 125 | 94 yards

Hole 17 Par 5
583 | 532 | 482 | 425 | 343 yards

This is a wide open fairway off the tee, so feel free to rip away. From the fairway, you should be able to see the pin over the top of a small rise further up the hole. The second shot offers a lot of room. There is really no danger as long as you find the fairway.

Over the top of the rise, you can finally see the green which has a single bunker short right. This green is turned perpendicular to your approach so that you hit into the narrowest dimension. A second shot played down the left side offers the best angle to attack the green on your third shot.

Hole 18 Par 5
505 | 485 | 452 | 428 | 205 yards

The only real danger off the tee (aside from that lone bunker) is a pulled tee shot to the water running down the left side.

I missed my drive to the right of the fairway but from atop that hill you actually have a great vantage point to the green. You can see down below how large of a landing zone you have for shots played traditionally up the fairway.

Anything played up the fairway will have a third shot approach to the green that looks something like this. The green is perched at the top of the hill. A green protects things short right. Another is hidden from this view behind the green.

The green has three sections, rising up from front to back. A back pin is a much harder proposition that the front pin I faced.

A view of the green taken from the back right shows the three tiered putting surface.
