This I-cord headband knitting pattern is super easy and fast to make if you have an I-cord maker, but even if you make your knit cord by hand it won’t take all that long to make.
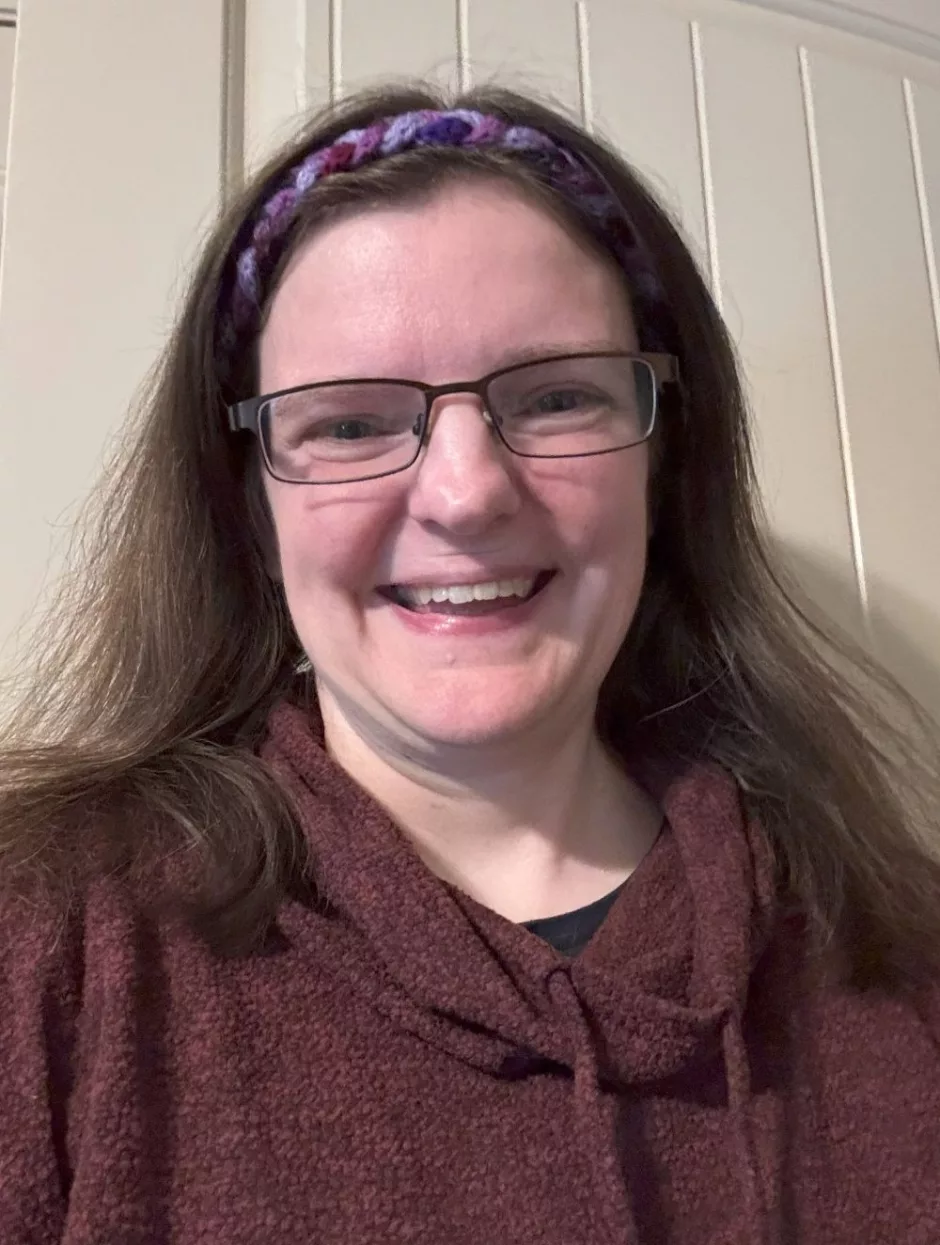
I made mine with three different colors of purple yarn but you can make it a single color, use more multicolored yarn or whatever you like.
What is I-cord?
I-cord is a name for knit cord coined by Elizabeth Zimmermann, who said it was short for idiot cord, because it was so simple to make. That’s not a great reason for the name, but it has stuck, though you may also see it called tubular cord or just knit cord.
To knit it by hand you need two double pointed knitting needles. You knit across the stitches then slip them back to the other end of the needle, bring the yarn into position by pulling it across the back of the stitches and continue.
Over time and with occasional pulling the stitches will close up on themselves, leaving a tube of stockinette stitch.
You can also make knit cord with a cranked cord machine, or you can use a French knitter. Check out all the options in my post on how to make knit cord.
Supplies for the Knit Cord Headband

If you are using a cord making machine, you’ll need to use light/DK/weight 3 yarn or sport/weight 2 yarn because those work the best in the machine. A light worsted/medium/weight 4 might work OK, but you’ll need to test it in your machine. I’m pretty sure my multicolored purple yarn is technically a worsted and it worked fine.
I know the darker purple is Knit Picks High Desert Sport in color Lupine. The lighter purple is Lion Brand Baby Soft left over from the Crochet Shell Stitch Scarf because we’re all about using all the yarn. The multicolored I think is worsted weight and I bought many, many years ago at a yarn event and I have no idea what it was.
In total I used 14 grams of yarn, which (using the weight of High Desert as a guide) would be around 40 yards total, or 13.5 yards of each yarn.
You’ll need either an I-cord maker or two double pointed needles of the size that works with your yarn, or a French knitter (which you can make yourself!).
I used a couple of wonder clips to hold everything together while I was working, but they’re probably not essential. You will need a yarn needle to finish the ends and sew the headband together.
I-cord Headband Pattern

To make a braided I-cord headband you’ll need three strands of I-cord. How long they need to be is a bit of a mystery because it depends on the size of your head and how tightly or loosely you braid.

My headband came out about 22 inches around (that’s about 55.8 cm), which might be just a tiny bit big because it doesn’t really stretch (but the braid kind of holds it in place so I haven’t had a problem with it slipping). My cords were about 26 inches/66 cm long.

I’d say it’s a good idea to make the cords longer than you think you will need because you can always rip out a lot easier that you can add on, especially if you are using an I-cord maker. Just fasten off loosely so you can pull the yarn back out of the stitches and rip back as needed.

Once you have your strands knit, hold them together with a clip and then braid them together. Use another clip to hold the braid at the other end and “try on” your headband to make sure it’s the length you want.

Then if you need to, you can rip out the extra length from any of the cords and secure the end again.

Use a yarn tail to sew the strands to each other on each end, then sew them together into a loop.

Weave in all your ends by tucking them into the cord.

This I-cord headband is comfy to wear and a great way to use up random bits of yarn. Kids will love to make this one, too, if you let them use the I-cord maker!

The post I-cord Headband Knitting Pattern appeared first on Our Daily Craft.