
Have you ever wondered why it’s necessary to have the batting and backing of a quilt larger than the quilt top? And then, how do you determine the quilt batting and backing size? That’s the topic for this month’s Quilt-y Q & A. Sherryl writes:
When quilting (sewing the top, battingwadding, and the backing together) why does the backing need to be bigger than the top? Are there instances when the backing and batting and top don’t need to be different sizes, like a double-sided quilt (both backing and top are pieced to a pattern or design)
In this post, we’ll discuss the reasons why the batting and backing need to be larger, how much larger and what to do if you have a double-sided quilt. I also have information about a handy quilt calculator that I often use to determine how much backing and batting is needed for a quilt.
Why the batting & backing needs to be larger
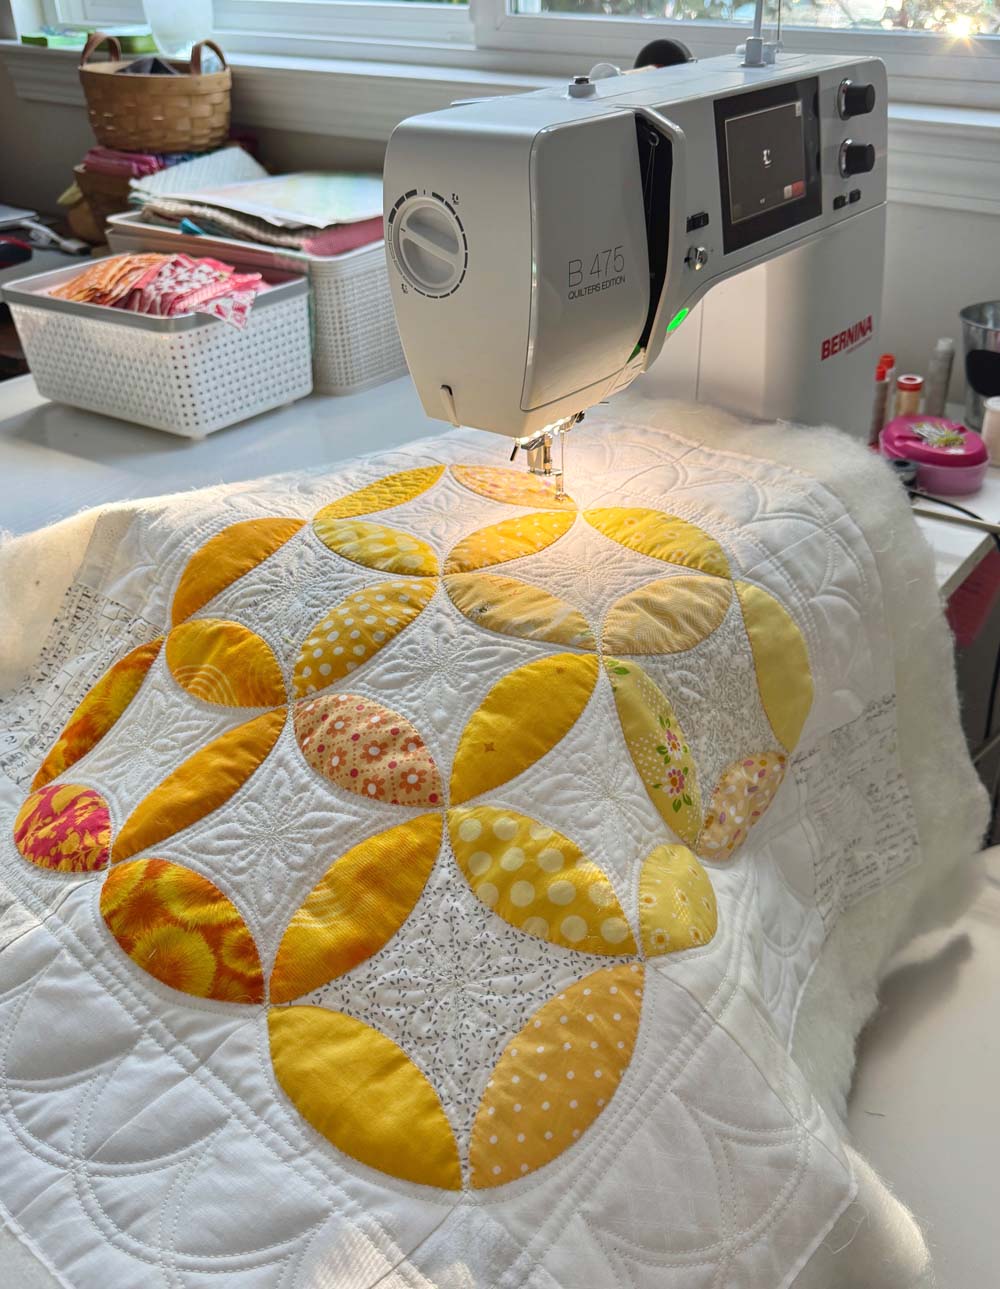
Whether you’re quilting the layers yourself or sending it to a longarmer to be quilted, the batting and backing need to be larger than the quilt top to accommodate any shifting or pulling during the quilting process. Longarm quilters, specifically, require an extra 3 to 4 inches on each side to load them onto the clamps and rollers of the longarm machine.

While quilting, the layers of the quilt can draw in or pull so that the edges are no longer exactly even. This is particularly true for dense quilting. Having that extra backing and batting gives you room to trim and square up the edges of the final quilt sandwich.
If you’re quilting on a domestic (home) sewing machine, I suggest an extra 2 to 3 inches. If you’re free motion quilting, it’s also helpful to have the extra backing and batting to hold onto as you reach the edges. This gives additional control and stability to that area.
How to determine quilting batting and backing size
In general, it’s suggested that the backing and batting be 3 to 4 inches larger on all four sides of a quilt top. That adds a total of 6 to 8 inches to the width and length dimensions of the quilt top. So, if your quilt top measures 45” x 60”, the backing should measure at least 51” x 66”. The same goes for the batting.

As I mentioned earlier, you can get away with 2 to 3 inches extra on each side if you’re quilting on your home sewing machine. Everyone has their own comfort level and preferences (unless you’re having it longarm quilted).
It’s not critical that the batting and backing are exactly the same size. I sometimes cut the batting slightly smaller (1/2” or so) so I can see the layers better for alignment purposes. Sometimes I want to make sure the quilt top is “square” to the backing especially if there is a backing seam or directional print.

Tools for determining backing size
One of my favorite tools to use in determining the amount of fabric needed for the backing of a quilt is the Backing and Batting Calculator from Quilter’s Paradise. This is an awesome tool, and it’s available free to use (strictly for non-commercial, personal purposes only).
All you need to do is specify the quilt’s width and length as well as any overage needed for EACH side. The calculator determines the amount of yardage based on a 43″ wide bolt of fabric (you can change that number if needed). The calculator assumes that the seam is running along the length dimension for the quilt and it includes a 1″ seam allowance for each seam required. It will also give yardage amounts if the width and length are swapped, making the seam(s) running along the width. This sometimes yields a more favorable (lesser) yardage requirement. Below is a screenshot of the webpage; it’s not active.

You can also use this to determine the amount of batting needed, just by entering the width of the batting being used. There’s even more calculators available at Quilter’s Paradise for binding, borders, sashing and more.
If you’re on the go, you should definitely download the Quilting Calculators App by Robert Kaufman and Quilter’s Paradise. It does the same thing in an easy-to-use app. I use this all the time when I’m at work at my local quilt shop or at home designing quilts!
Backing for double-sided quilts
A double-sided quilt is one that has a pieced back that can also be used as the quilt front if you flip it over. This is especially nice for seasonal quilts so that they can be used for more than one season or holiday. This double-sided quilt tutorial by Annette Rice for Alderwood Studio has great tips for making a successful two-sided quilt.

If you’re thinking of making a two-sided quilt, you may want to add a temporary border to the backing. One that can be used for the benefit of the quilting process and then removed or trimmed away afterward. Another option is to make the outer edges of the pieced back wider, if the design allows that.
Previous Q&A blog posts
- How to get your “sew-jo” back
- What’s the best way to seam-rip and what’s your favorite quilt show?
- How to square up a quilt after it’s been quilted
This post is part of a Quilt-y Q&A series. You can basically “ask Julie” anything related to quilting! If you have a burning question you’d like to have answered, email me (see the form at the end of this post) or leave a comment. I’ll add it to my list. I don’t pretend to have all the answers, but I’ll do the research when needed. And, I’m open to your comments. If you know something I don’t, please let everyone know in the comments (another good reason to read them).
As you can see, it’s important to always allow extra inches on all sides of your backing and batting to achieve a professionally finished quilt. That extra fabric and batting provides added stability and control when quilting near the edges. It also prevents the risk of coming up short at the edges which can cause puckering or incomplete coverage. In the end, you’ll have room to trim and square up the edges evenly for a beautiful quilt finish.
Make sure to pin this image so you can find it later!


The post How to determine quilt batting and backing size appeared first on The Crafty Quilter.