Back to the American Revolution! We’ve seen how the American colonists in North America had both economic grievances and the political philosophy to make demands that these grievances be rectified. As the British government was unresponsive to those demands, the conflict turned violent, which is our topic for today: We’ll deal with the first clashes, the early focal point around Boston, and an optimistic American offensive, – as always, with board games.
You can read all published articles in the American Revolution series here:
“Give Me Liberty, or Give Me Death!”
The War of Independence: 1775-1776
The War of Independence: 1776-1777
First Clashes: Lexington and Concord
The economic grievances and political philosophy had convinced many of the righteousness of the American cause. Yet it became clear that the conflict might be resolved not by letters and debates, but by force of arms – and these the Americans lacked sorely. While many of the colonists, especially in New England, were militia members and owned guns, these were a ragtag mixture of old muskets from previous wars. It looked even worse for everything else from musket balls over gunpowder to cannon. Thus, it was imperative for the colonials to seize whichever military stores they could lay their hands on. Overt and covert operations of that kind were in full swing from February 1775 on.
When a report of such military supplies being stored in Concord, Massachusetts, reached the British commander in Boston, Thomas Gage, he sent out a force of British regulars to capture these. Yet as Boston was teeming with American patriots, word of the expedition got out before, and the militia called up to interpose themselves between the British troops and the supplies. A small force of militia met the British, many times their number, at the village of Lexington, a few miles before Concord. The British officer in command attempted to prevent an escalation, but his troops opened fire nonetheless: Eight militiamen lay dead on the ground, the others dispersed.
The British marched on to Concord. While the militia melted away before the superior British force, they searched for the military supplies. Whatever was found was destroyed, including three heavy siege cannons, some gun carriages, and 550 pounds of musket balls. In the meantime, more and more militia had flocked to Concord from the surrounding villages. Now the militia vastly outnumbered the dispersed British troops. When a shot rang out (likely a warning shot by a British soldier), regulars and militia began firing at each other. The British, aware of their inferiority in numbers and disposition, withdrew to Boston, all the while being harassed by militia firing individually from covered positions. At the end of the day, British losses outnumbered American losses three to one.
The relatively small battles of Lexington and Concord set off the next eight years of war between the British crown and the American patriots. They also showcased the strength and weaknesses of the opponents: British regulars were better trained and equipped. They fought best in open engagements; the militia shone at small-scale, irregular operations. The militia might melt away in between (and sometimes during) battles, but militiamen could be relied upon to turn out in large numbers to defend their homes. And, most crucially, the closest manpower reservoir for the militia was any nearby village, whereas every British regular had to be shipped to America over 5,000 miles of ocean. Losses were thus much harder to bear for the British.
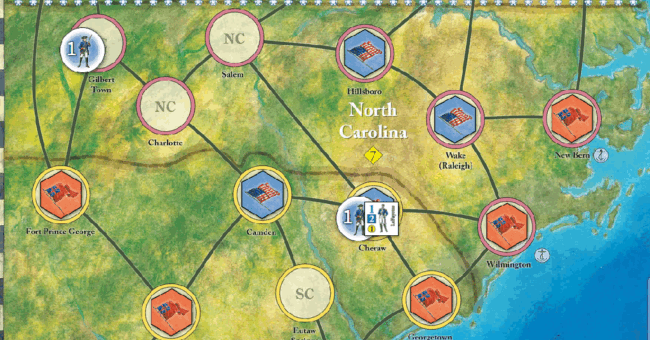
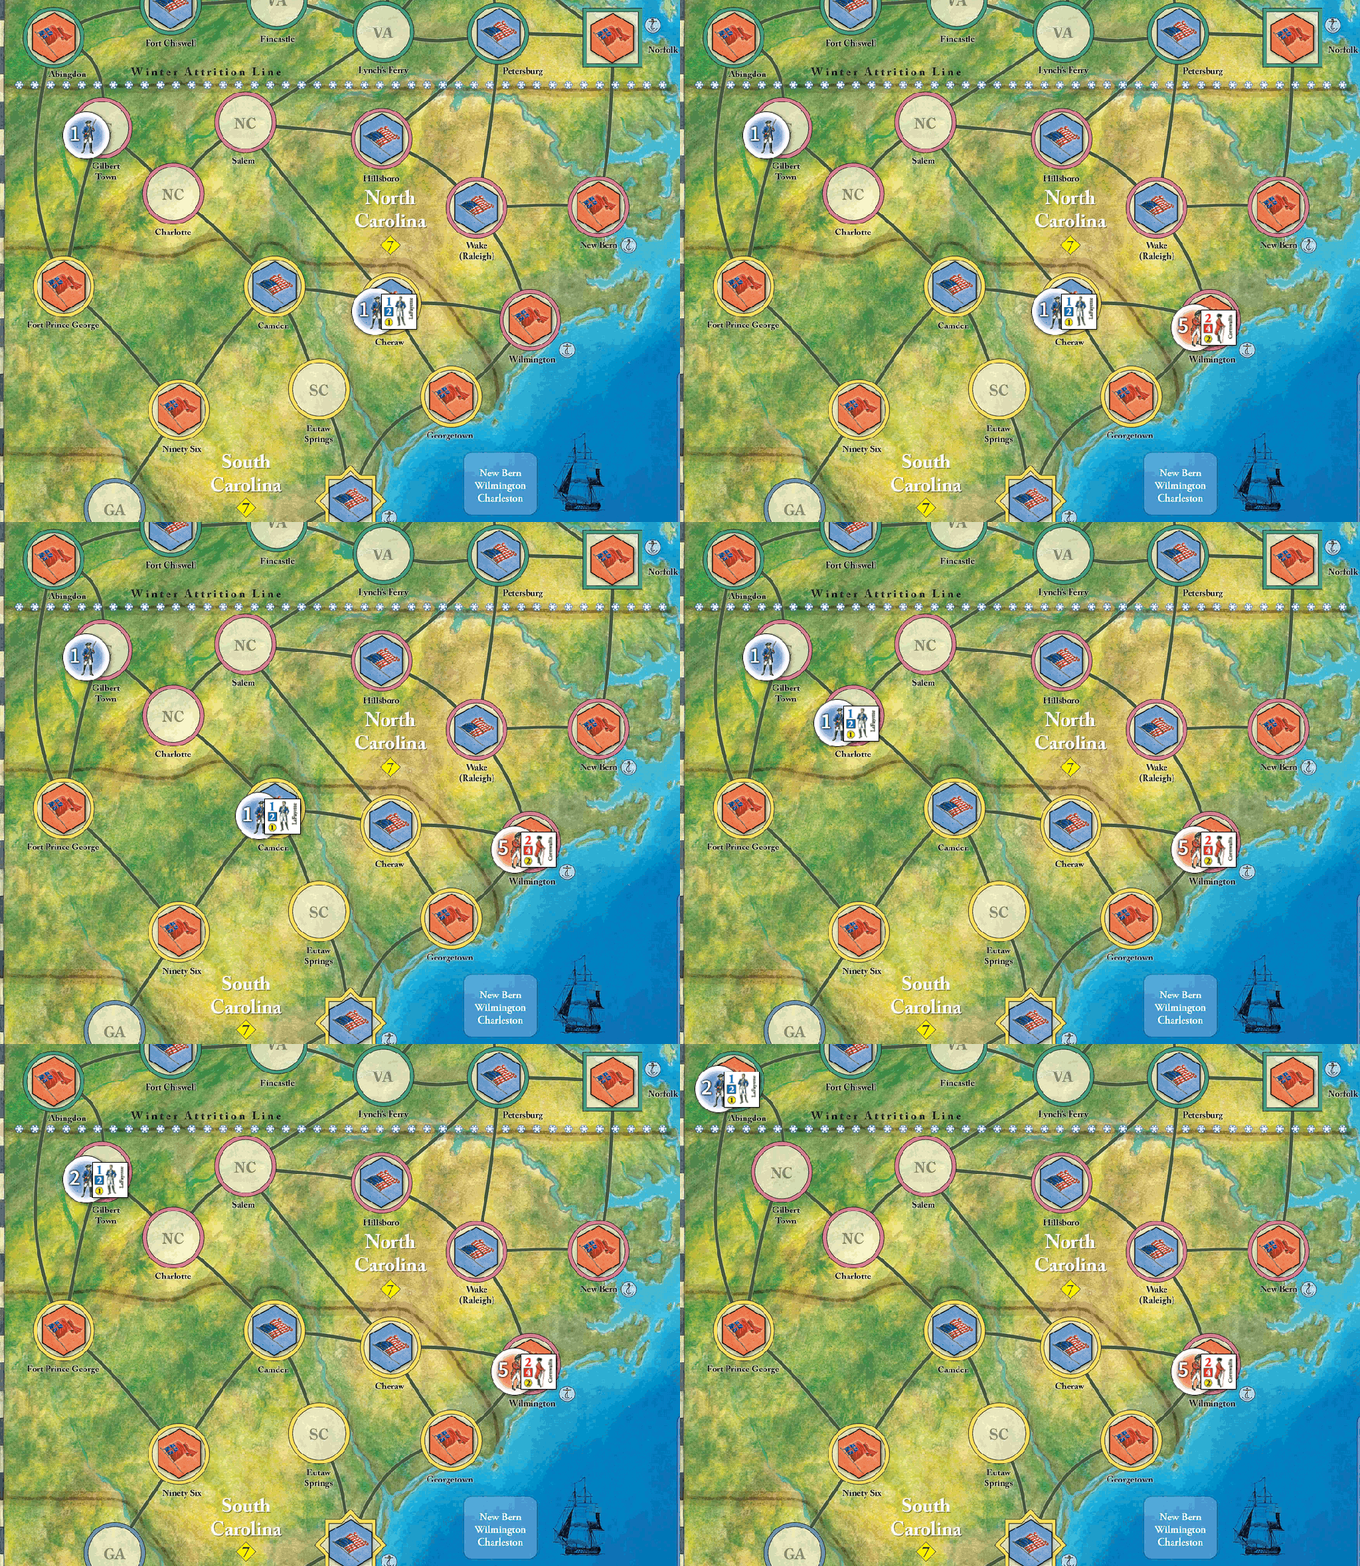
These differences between the forces are, of course, also modeled in board games. Washington’s War (Mark Herman, GMT Games) gives the British forces a +1 die roll modifier in all battles (the “regulars advantage”) – until their losses become too heavy. And while American reinforcements can spring up almost anywhere (though not in force), the British are limited to one shipment to a port space per year (yet that is typically a very sizable army).

Boston Besieged
With more and more militia flocking in, the American cause now had military momentum. Some of the militiamen, commanded by Benedict Arnold of Connecticut, were dispatched to take the lightly held Fort Ticonderoga in the Hudson valley and seize the military stores, especially the artillery, there. The remainder under the command of Artemas Ward of Massachusetts began to besiege the British forces in Boston.
These had neglected to occupy Breed’s and Bunker Hill, the heights across the bay which commanded the city. Artillery fire from there would have been devastating for the defenders in Boston. Once the British had received reinforcements (and a few new generals more enterprising than Thomas Gage), they set out to rectify their mistake. Before they crossed the bay, however, the always well-informed Americans had dug in on the hills. Twice the British assaulted Breed’s Hill, and twice they were bloodily repelled. Their third attempt carried the hills for the crown, yet the price was tremendous: A thousand British regulars had been killed or wounded. A third of the British officers killed in action during the War of American Independence died on June 17, 1775, in what is usually called the Battle of Bunker Hill (even though most of the fighting took place on Breed’s Hill). Bunker Hill, albeit a British tactical victory, was a sobering experience for the British commanders who lost not only soldiers, but also their confidence in victory.

Shortly after the battle, the American force besieging Boston received a new commander: The delegates of the thirteen colonies, joined in Philadelphia as the Continental Congress, had decreed the force outside of Boston the Continental Army. It was mostly made up of soldiers from New England and fought for what many southern colonists regarded a New England issue. The southerners needed a signal that this fight was theirs, too. Thus, the Continental Congress set out to find a southern commander for the Continental Army – and settled on the fortuitous choice of the Virginian George Washington.
Washington took command of the Continental Army in July. Washington’s instinct as a fighting general was to assault Boston, but his officers convinced him otherwise: The British position was too strong, and their navy still commanded Boston harbor. As winter neared, Washington once more advocated an assault – he feared many of the militiamen would return home in the winter – and once more let his officers convince him otherwise. Yet the British position weakened as well: American privateers harassed British supply flowing into Boston by sea.
The crucial importance of supply is the main motif of Supply Lines of the American Revolution: The Northern Theater (Amabel Holland, Hollandspiele). Armies without food and ammunition cannot move or fight, and the decision is likely reached not by a climactic battle, but by the exploitation of the supply woes of the opponent.

The manpower crisis which Washington had feared did in fact materialize. Yet the militia stepped up: New regiments were raised, and the Continental Army survived the winter intact. And in February they received very welcome reinforcements: Henry Knox had brought the heavy artillery captured at Fort Ticonderoga. With these installed on the Dorchester Heights south of Boston, the balance of power had tipped decisively in favor of the patriots. After a few days of bombardment, the commanders reached a tacit agreement: William Howe, who had taken over from Gage in October, would not burn Boston. In return his fleet would be left unmolested when leaving Boston. The British sailed away on March 17, 1776.
The Fourteenth Colony? Quebec Invaded
The success at Fort Ticonderoga had strengthened the American position in the north. In the heady early days of the American Revolution, more seemed possible – and thus the Continental Congress authorized an expedition into the lightly defended colony of Quebec, headed by Philip Schuyler of New York. Schuyler, however, did not cover himself in laurels: Setting out from Fort Ticonderoga in August 1775, he fell ill after a month of slow progress north past Lake Champlain, and handed the command to Richard Montgomery, also of New York. Montgomery besieged Fort St. John and took it by November. Now the way to Montreal, one of the two chief settlements was open.
The other chief settlement was Quebec. The American forces moved on it from two sides: In addition to Montgomery’s campaign down the St. Lawrence, a second expedition had departed from Massachusetts a month later. Its forces: 1,100 men, from the rugged west of Pennsylvania and Virginia which had grown restless in the siege of Boston. Their commander: Benedict Arnold, the hero of Ticonderoga. Arnold’s trek through the Maine wilderness into Quebec on flat-bottomed boats was marked by difficult terrain (the boats had to be carried in between rivers) and short supplies. When Arnold arrived with 600 starved companions on the outskirts of Quebec in November 1775, he found the city well-fortified, impossible to storm with his ragged band. He decided to wait for Montgomery’s arrival.

Montgomery had fared better at Montreal: British governor Guy Carleton had regarded the city to be indefensible with his meager forces after the fall of Fort St. John. He fled to Quebec, barely escaping capture by American forces downstream the St. Lawrence. Montgomery occupied Montreal and prepared for the inhabitants to elect delegates to the Continental Congress. Then, he moved on to Quebec. However, most of his troops either returned home, as their militia enlistment expired, or remained to garrison Montreal. Montgomery joined Arnold outside Quebec with only 300 men on December 2, 1775. The joint American force assaulted Quebec during a snowstorm on New Year’s Eve, hoping that the element of surprise would outweigh their tactical and numerical inferiority. It did not. Montgomery was killed, and Arnold took sole command of the battered remainder of the force.
Over the winter, American reinforcements trickled in via Montreal. Yet they were far outnumbered by the British reinforcement fleet which shipped thousands of troops recruited in Europe (a third of them from the Hessian principalities in Germany) to Quebec.
Carleton’s counter-offensive swept up the St. Lawrence River in May and June 1776. The American forces abandoned Montreal and retreated to Lake Champlain and to Fort Ticonderoga. The improvised American navy on the lake could stall the British advance in October, and the British forces returned to winter quarters instead of pressing their advance beyond the lake.
The First Year
The campaigns begun in 1775 had not brought a decision, but certainly some surprises: The American colonies did not only bring forth savvy merchants and eloquent writers, but also tough soldiers and daring commanders. Unexpectedly, they had not only held their own against the military force of the world power Britain, but also forced London to send massive reinforcements to the New World. With these, London hoped, the revolution could be quashed in the second year of campaigning. We’ll cover that in the next post of this series!
Games Referenced
Washington’s War (Mark Herman, GMT Games)
Commands & Colors Tricorne: The American Revolution (Richard Borg, Compass Games)
Supply Lines of the American Revolution: The Northern Theater (Amabel Holland, Hollandspiele)
Further Reading
Allison, Robert J.: The American Revolution. A Very Short Introduction, Oxford University Press, New York City, NY 2015 is exactly what it says on the tin.
Higginbotham, Don: The War of American Independence. Military Policies, Attitudes, and Practice, 1763-1789, Indiana University Press, Bloomington, IN 1977 covers not only the campaigns, but also the political, social, and economic dimensions behind them.